Creating a new post or page in WordPress is a straightforward process, but understanding the various options and features can help you create more effective and visually appealing content. The key difference between a post and a page is that posts are timely, chronological content (like blog articles) that can be categorized and tagged, while pages are static, timeless content (like an “About Us” or “Contact” page) that are not organized by date.
The WordPress Block Editor (Gutenberg)
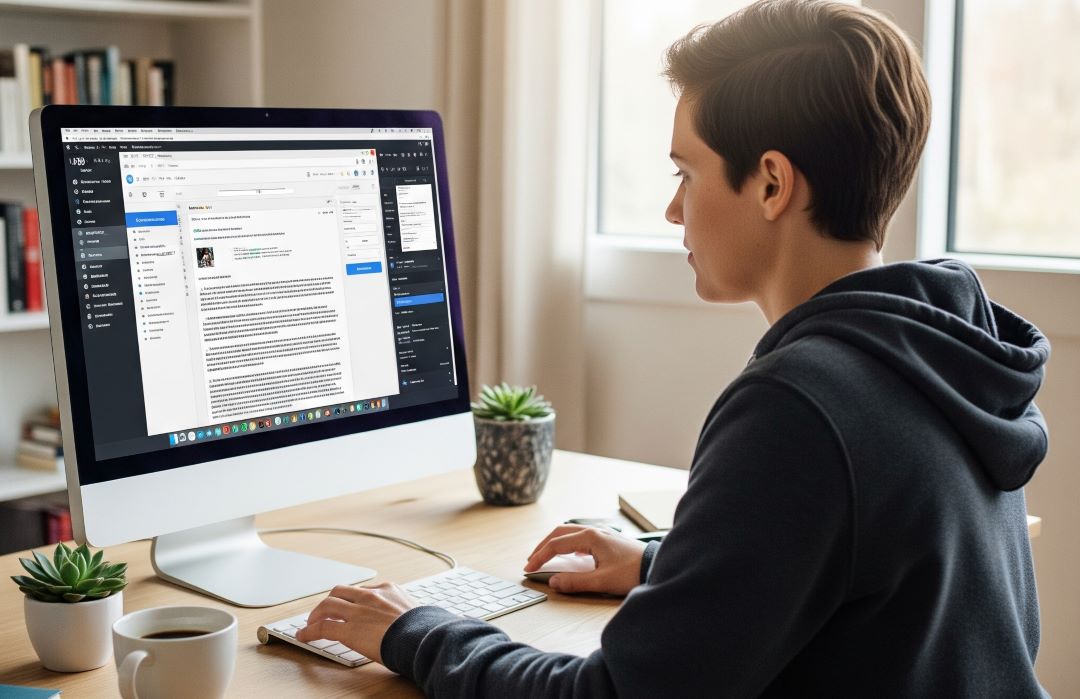
WordPress uses the Block Editor, also known as Gutenberg, to create content. This editor uses a system of “blocks,” where each paragraph, image, heading, or list is its own individual block. This modular approach provides flexibility and control over your layout.
Step-by-Step Guide to Creating a Post
1. Navigate to the Post Editor
To start, log in to your WordPress dashboard. In the left-hand menu, hover over “Posts” and click “Add New.” This will open the block editor.
Ad2. Add a Title and Content
The first thing you’ll see is a field for the title. Add a descriptive and engaging title for your post. Just below the title, you’ll find the main content area. By default, it’s a paragraph block. Simply start typing to add your first paragraph.
To add new blocks, you can:
- Press Enter at the end of a paragraph to create a new paragraph block.
- Click the “+” icon in the top left corner of the editor. This will open the Block Inserter, which shows a list of all available blocks.
- Type a slash / followed by the name of the block (e.g.,
/imageor/heading) to quickly add a block.
3. Common Blocks and Their Uses
- Paragraph Block: The most basic block for writing text.
- Heading Block: Used for subheadings (H2, H3, H4, etc.) to break up your content and improve readability.
- Image Block: Allows you to upload a new image, select one from your media library, or insert an image from a URL. You can also add a caption and alt text.
- Gallery Block: Displays a collection of images in a grid.
- List Block: Creates bulleted or numbered lists.
- Quote Block: Highlights a pull quote or a citation.
- Button Block: Creates a clickable button, often used for calls to action.
- Embed Block: Used to embed content from other platforms like YouTube, Twitter, or Instagram.
4. Configure Post Settings
On the right-hand side of the editor, you’ll find the “Settings” panel. If you don’t see it, click the gear icon in the top right corner. This panel contains crucial settings for your post.
- Status & Visibility: Controls who can see the post (public, private, password protected) and its publishing date. You can also set a post to be “sticky,” which means it will always appear at the top of your blog.
- Permalinks: This section shows the URL slug for your post. WordPress automatically generates one from your title, but you can edit it here for better SEO. A good permalink is short, descriptive, and includes keywords.
- Categories: Assign your post to one or more categories. This helps organize your content for readers.
- Tags: Add tags to describe specific details of your post. Tags are more specific than categories and help users find related content.
- Featured Image: This is the main thumbnail image that represents your post on your blog’s homepage or in social media shares. Always add a relevant featured image.
- Excerpt: A short summary of your post. Many themes display this on the blog archive page. If you don’t write one, WordPress will automatically create one from the first few lines of your post.
- Discussion: Allows you to enable or disable comments and trackbacks for the post.
5. Save and Publish
As you write, WordPress automatically saves a draft. You can also manually save a draft by clicking the “Save Draft” button in the top right. Once your post is complete, click the “Preview” button to see how it will look on your site. When you’re ready, click the “Publish” button. This will make your post live on your website.
Creating a Page
Creating a page is very similar to creating a post. The main difference lies in the settings.
1. Navigate to the Page Editor
From your dashboard, go to “Pages” and click “Add New.”
2. Add Content and Configure Settings
The content creation process is identical to that of a post, using the block editor. However, the settings panel on the right is different.
- Page Attributes: Here, you can select a parent page, which creates a hierarchy (e.g., “About Us” can be the parent of “Our Team”). You can also choose a page template if your theme offers them. Page templates can change the layout of the page.
- Discussion: The comments setting is typically turned off by default for pages, as they are static content.
After adding your content and configuring the settings, you can “Publish” the page just like you would a post.